Every season has a built-in reason for entertaining. Fall brings football back, along with everyone’s favorite reason for watching: tailgating. Winter and the holidays are the epitome of entertaining guests, and by spring or summer, you’re sick of cold weather and ready to fire up the barbecue. Whatever the season, it helps to be good at entertaining. And if your idea of entertaining involves sipping a craft whiskey or whipping up the best cocktails, you’ve come to the right place. Here are six concrete steps to becoming a better at home bartender. A dimly lit ambiance is optional.
Step One: Have the Right Glassware
If there’s only one part of your bar setup at home that you should splurge on, it should be the glassware. A good quality crystal can add a level of sophistication even to less than complicated drinks. For a home bartender, three types of glasses will do it: old-fashioned, highball and martini.
Step Two: Ice, Ice, Baby
An at home bartender who has the goal of going all-out should really invest in blocks of ice that can be hand-carved. The next piece of essential ice gear is a silicone cube mold that you can use for stirred drinks. For drinks like whiskey on the rocks, you’ll want to use larger ice balls or carved wedges for minimal dilution. Pro bartender tip: pouring boiling water into molds results in crystal clear, bubble-free ice.
Step Three: Perfecting the Potion
Shaking liquor causes air and can result in foam. If you’re making a cocktail that contains booze only, it should be stirred. To stir properly, hold a bar spoon between your thumb and first two fingers, allowing it to rotate around itself as you make circles in a mixing glass filled with ice. The tactic behind stirring is two-fold, you’re mixing the drink at the same time as making it ice-cold.
Step Four: Shaken, Not Stirred
Does your cocktail recipe call for non-spirit components like citrus juice or egg whites? It will need to be shaken. Some recipes, like a daiquiri, take a while to combine ingredients and produce the much-needed froth. Hold the shaker in your hand at a 90-degree angle and shake vigorously for 15 to 20 seconds. You’ll know it’s ready if the outside of the shaker is frosty and extremely cold.
Step Five: Every Home Bartender Needs the Right Tools
Don’t run out and buy a fancy bartending set unless it has these necessary components: a good shaker, a mixing glass, bar spoon, strainer and a jigger. The long, thin handle of a bar spoon is best for proper stirring. A strainer keeps your ice right where it should be: inside the mixing glass. And with a jigger think measuring cups only for bartending vs. baking.
Step Six: Pick the Right Cocktails to Master
One of the great things about learning how to bartend is that you’ll make individual recipes your own by adding a little more or less of one ingredient. It’s like a jazz musician who plays the same tune differently night after night. Right now classic cocktails are having a moment so it’s a safe bet to learn how to make a martini, a negroni and an old-fashioned. And stick to simple. Recipes with only two or three ingredients puts a higher emphasis on the quality of the liquor and how well you mix them together.
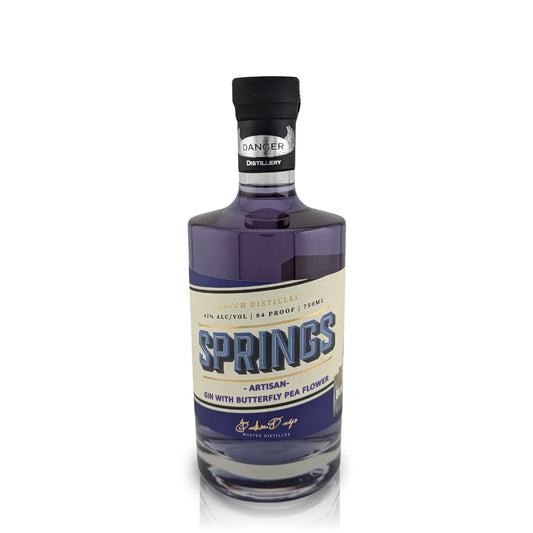
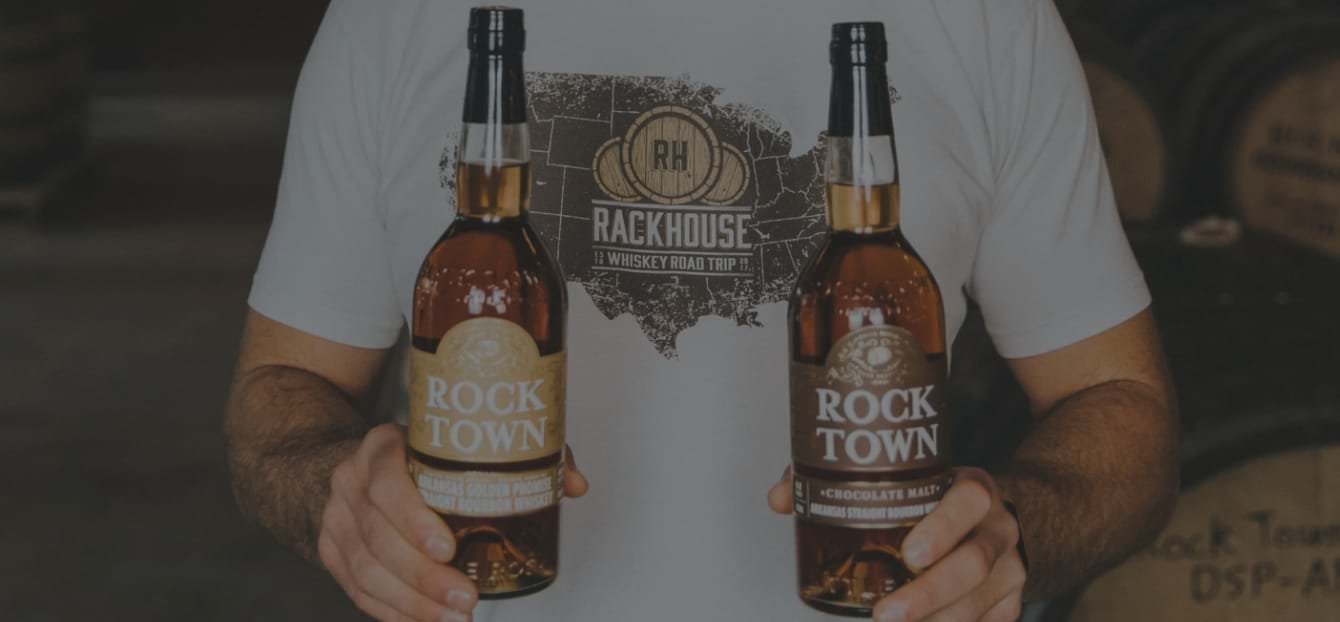
Now that you know the techniques, these are the six best whiskey drinks you can make at home.